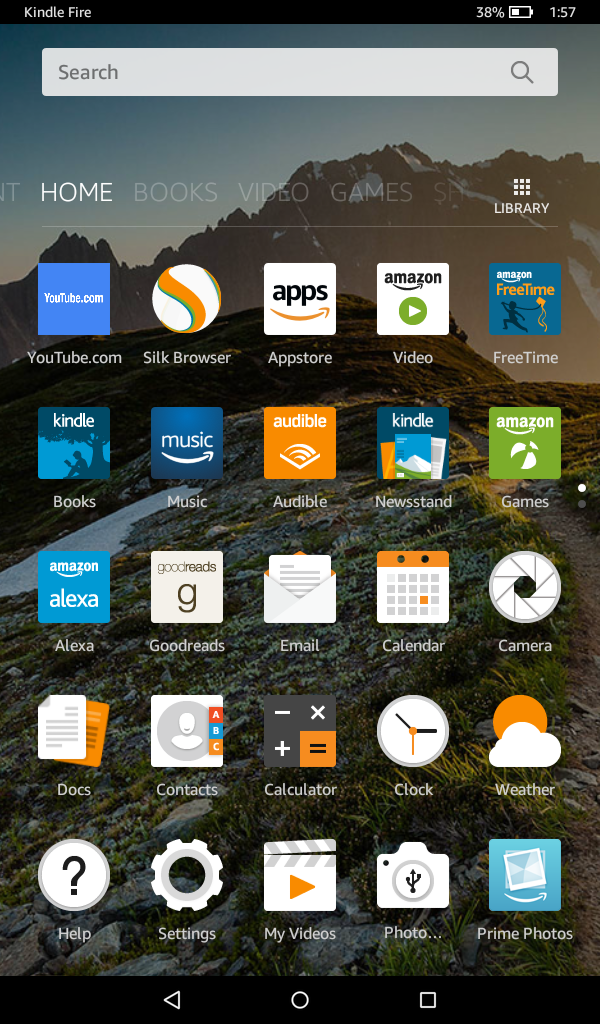
- From the Home menu, open the Email app
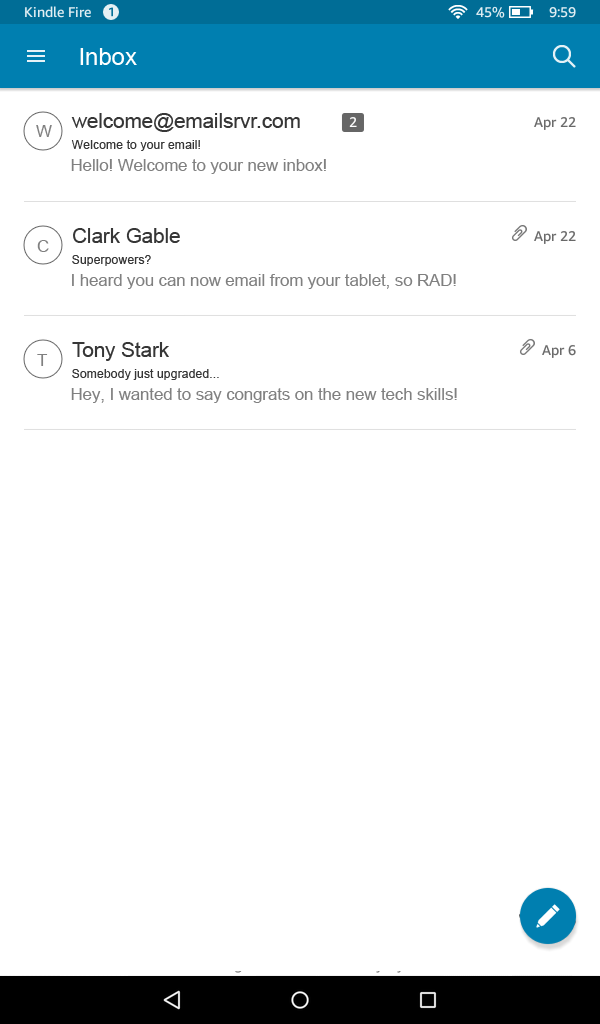
- Tap the menu icon on the top left, next to Inbox.
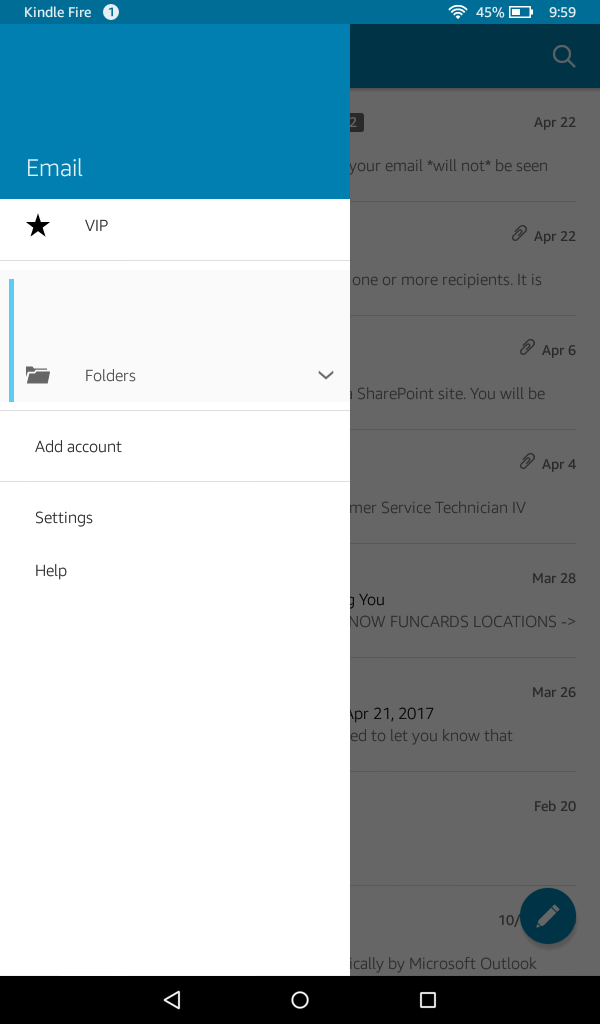
- Tap Settings
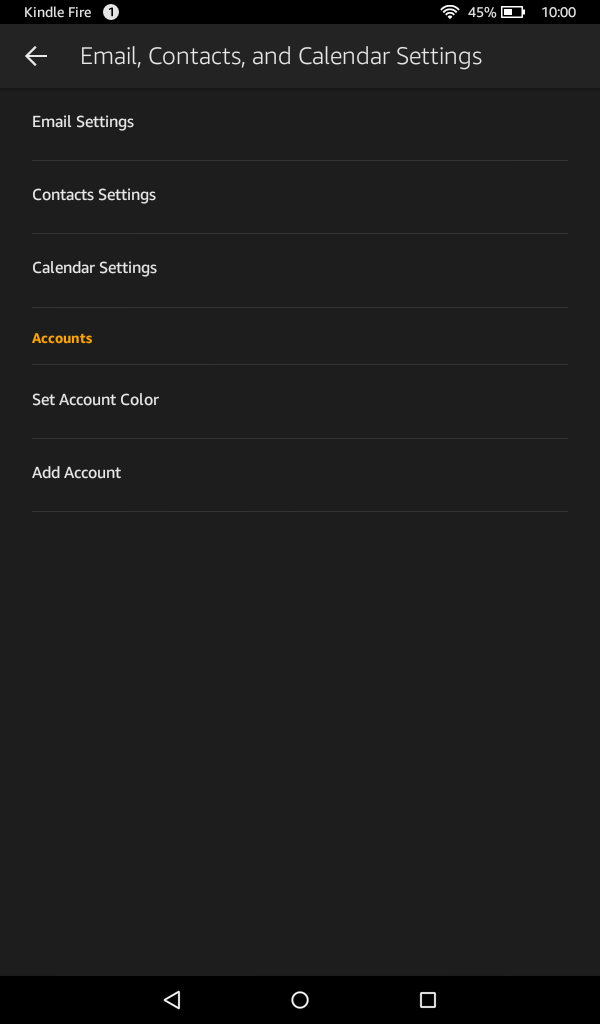
- Tap Add Account
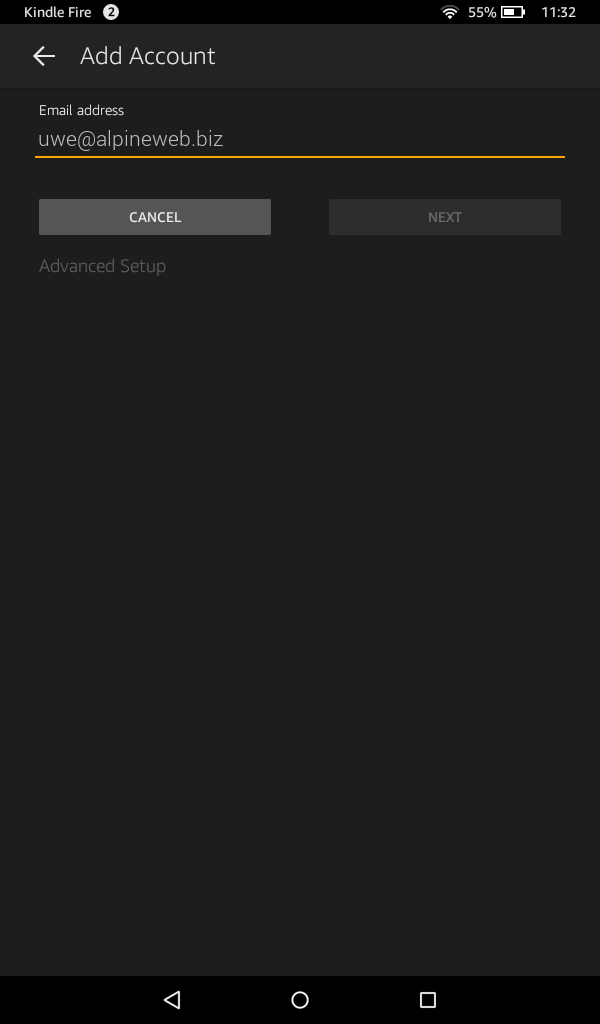
- Enter your email address: [email protected]
- Tap Manual Setup
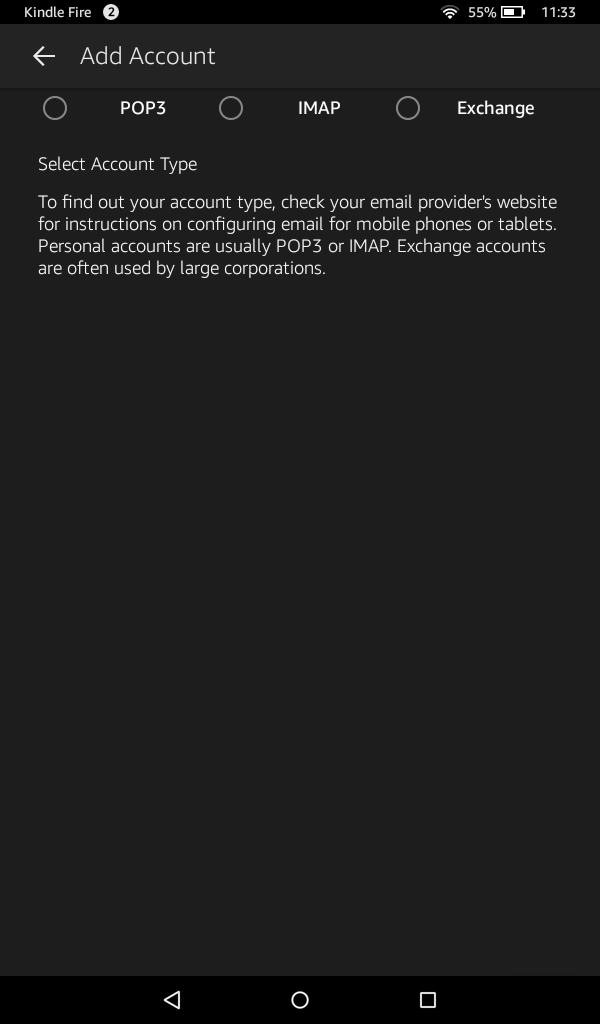
- Select IMAP
- Enter the following information
IMAP server: secure.emailsrvr.com
Use secure connection SSL: checked
Username: [email protected]
Password: Your password
SMTP Server: secure.emailsrvr.com
Use secure connection SSL: checked
Use same credentials for Incoming and Outgoing servers: checked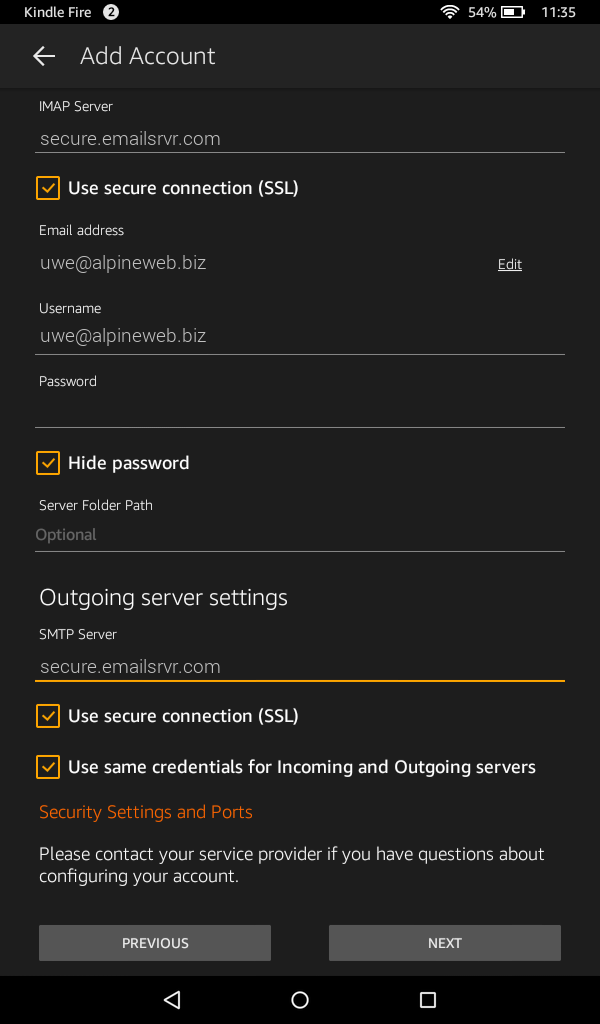
- Tap Server Settings and Ports
- Enter the following information
Incoming Security Settings
Use secure connection SSL: checked
Port: 993
Outgoing Security Settings
Use secure connection SSL: checked
Port: 465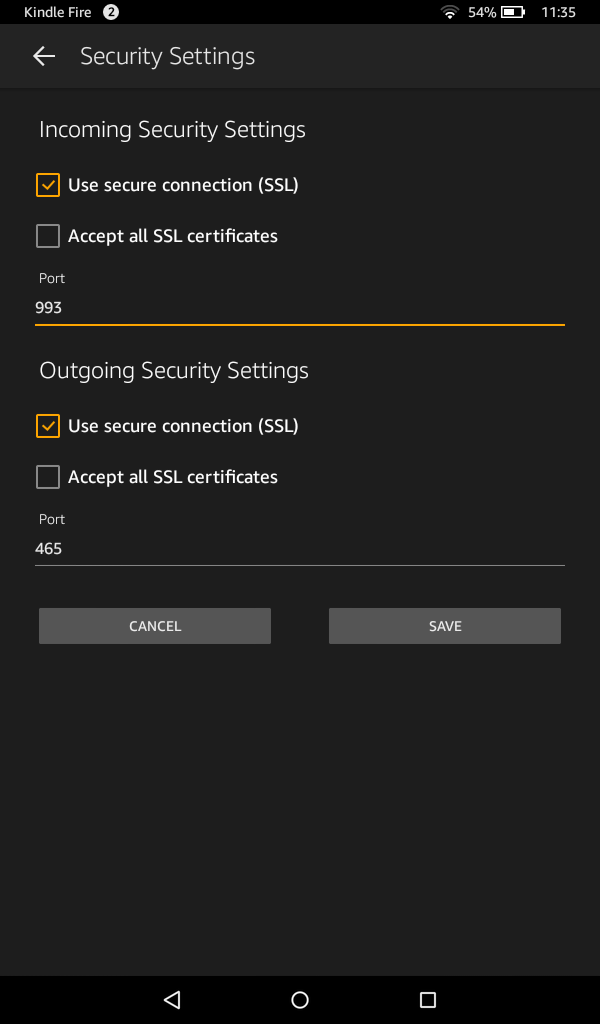
- Tap Save
- Tap Next
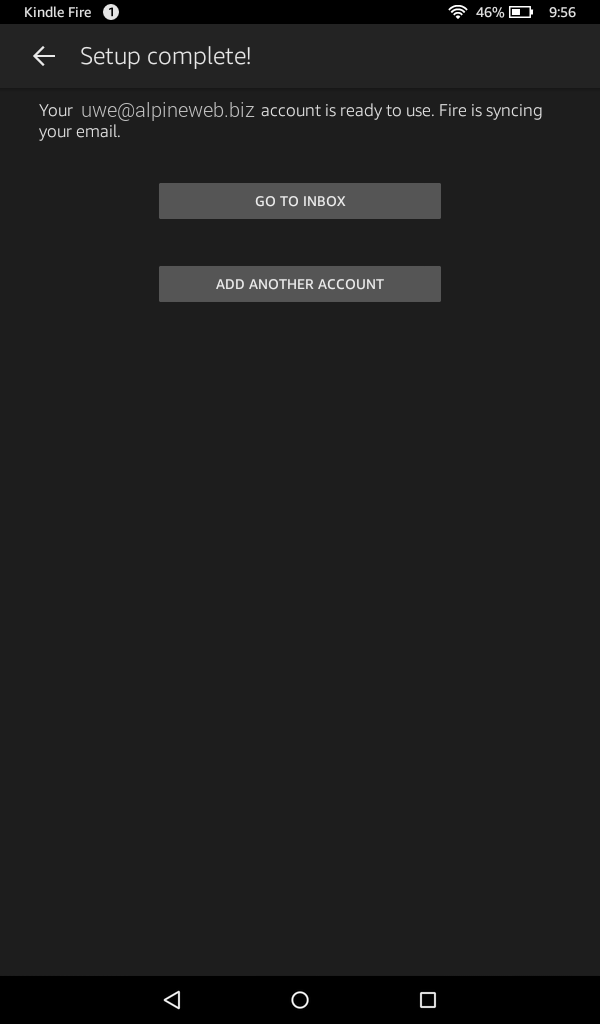
- You're all set! Tap Go to Inbox to be taken to the inbox. It may take a few minutes for the email to populate, depending on the amount of data.
Don't forget about your other devices! Click here to set up a computer, tablet, or phone.
