You can log in to WHM by appending "whm" to your domain name in your web browser address bar, and press Enter to be directed to your WHM login page. It should look something like this:
https://www.my-domain-name.com/whm
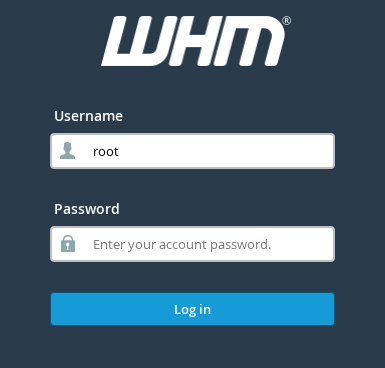
- Go to your servers WHM login page and log in as the "root" user:
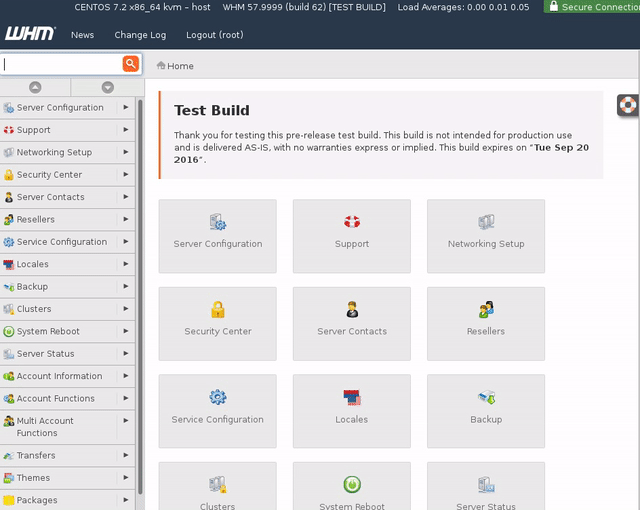
- After you log into WHM, you'll see a long list of navigation links to the left and navigation tiles in the middle of your screen. It's often easier to use the search bar on the top left of the screen than it is to navigate WHM by clicking on the navigation buttons.
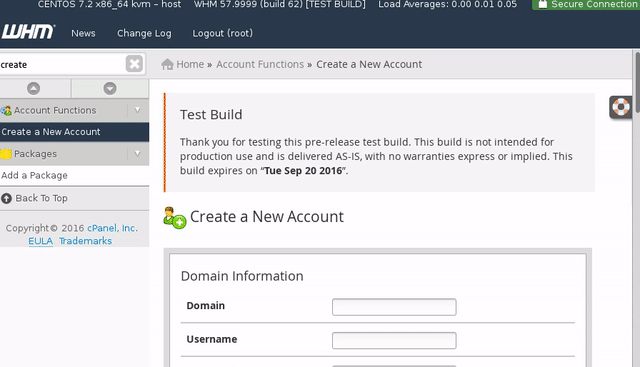
- Search for “Create a New Account.” Search results show up immediately as you type, and a link to Create a New Account will appear below Account Functions.
- Click on Create a New Account.
- Scroll through the cPanel user account creation form: you'll see lots of options and settings. Each setting will be explained below, but WHM does a good job of choosing default settings. When you set up your first cPanel account, you can use all the default settings and have no problems. These settings can be changed at any time, so you can change your cPanel account settings as your domain's needs change.
- Fill in the Domain Name of the domain you'd like to manage with this cPanel user account. Each domain can only be associated with one cPanel account.
- WHM will auto-populate a Username based on the first eight characters of the domain name. This makes your cPanel username easy to remember, but you can change the username to anything you'd like.
- Then, choose and confirm a strong Password.
- Enter your Email Address.
- At this point, you can scroll all the way down to the bottom without changing any of the settings and click Create.
- WHM will create your cPanel account and give you an account creation confirmation. You can double check your new cPanel account by searching for “List Accounts” in the top left search bar. Click on List Accounts under Account Information to see all your cPanel accounts, including the one you just created.
- Scroll through the cPanel user account creation form: you'll see lots of options and settings. Each setting will be explained below, but WHM does a good job of choosing default settings. When you set up your first cPanel account, you can use all the default settings and have no problems. These settings can be changed at any time, so you can change your cPanel account settings as your domain's needs change.
What About All Those Other Settings?
There are tons of other settings to choose from when you're setting up your cPanel account. The default settings WHM provides will be good for most cPanel accounts, especially because you can change the settings at any time. Here's a quick overview:
Package
There are many different options to choose from, including Disk Space Quota and Max SQL Databases. But, WHM has good default settings for these options. When you're creating your first cPanel account, we recommend not changing any settings. You can change these settings later as you learn more about the domain's needs.
Settings
The default Theme for cPanel is paper_lantern. For your first cPanel account, use this theme: again, it can be changed later if necessary. The Locale setting will set the language of your cPanel interface.
Reseller Settings
If you are not reselling hosting space, don't change anything here. This section only makes a specific cPanel account a reseller. The Reseller Settings are located elsewhere in WHM.
DNS Settings
As with the other settings, the default DNS Settings will be enough for your first cPanel account. You can change these settings later if you choose to use personal nameservers or make other advanced changes to your DNS.
- Enabling (DKIM) on this account: DKIM stands for DomainKeys Indentified Mail. This is a type of email authentication and helps prevent phishing and spam. The default setting is to have it enabled.
- Enable SPF on this account: SPF stands for Sender Policy Framework. This also works to help prevent phishing and spam, but unless you're using personal name servers, it's not necessary.
- Use the nameservers specified at the Domain's Registrar: If this box is checked, WHM will look up the domain's DNS information and use the nameservers configured at the DNS registrar. Only check this box if your DNS is hosted somewhere else.
- Overwrite any existing DNS zones for this account: If you have already set up DNS zones in your Liquid Web account, you don't want to check this box. It can cause you to lose all your work.
Mail Routing Settings
The default setting for your mail routing settings is Local Mail Exchanger. Even though it also says that Automatically Detect Configuration is recommended, stick with the default Local Mail Exchanger if you plan to host your mail on the same server. Otherwise, when you point the domain's DNS to this server, the mailserver will be configured as if mail were still being hosted at the old server. Then, mail will be rejected until the mailserver is configured properly.
Accessing Your cPanel Account
Logging into your new cPanel account is easy. From the List Accounts page, click on the orange cPanel logo next to your domain name. cPanel will load in a new tab or window.
Did You Know?
You can access cPanel without going through WHM. Point your browser at:
https://yourip:2083
You can also visit
yourdomain.com/cpanel
Now you're ready to start using cPanel.
